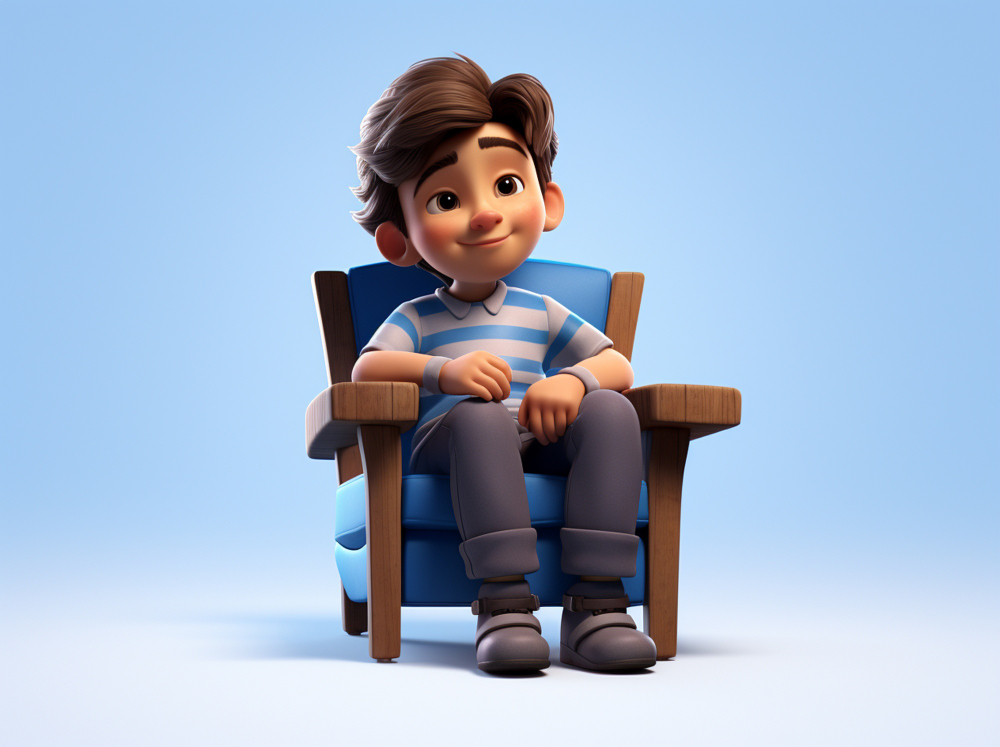
The attraction of changing Photo to 3D Model is increasingly appealing to artists, designers, and beginners. It is a procedure that allows us to examine the multidimensional character of our imagination by bridging the gap between the flat and the tangible. The popularity of 3D character creator has risen dramatically in recent years. 3D character creator tools are fundamental to this artistic shift. These digital companions serve as the catalysts that bring your vision to life. They enable you to analyze and transfer your 2D image into 3D model.
In this blog, we will explore the pivotal role 3D character creator tools play in transforming 3D characters from photo to 3D model.
Tip 1: Choosing the Right 3D Character Creator to convert photo to 3D model
Selecting the appropriate online tool
Choosing the right 3D character creator is an important first step in transitioning from 2D photos to incredible 3D models. These tools act as a link between your artistic vision and the digital world, and selecting the incorrect one might lead to frustration and limits. Here’s why selecting a 3D character designer is so important:
i. By selecting the suitable tool, you ensure that the software is compatible with your artistic aims and workflow.
ii. Furthermore, the correct tool can have a major impact on the quality of your final 3D character. Your pick will influence the appearance of your character.
iii. Another key thing to consider is user-friendliness. It’s critical that the software’s interface corresponds to your ability level, whether you’re a novice or an expert.
Popular 3D character creator options
There are numerous 3D character creator options available, and understanding their strengths and weaknesses is crucial for making an informed choice.
Blender:
Blender is an open-source 3D modeling and animation software with powerful features. It is highly customizable and provides a plethora of options for skilled users. While it has a steeper learning curve, it is the preferred tool for professional 3D artists.
ZBrush:
ZBrush is well-known for its sculpting capabilities and is widely utilized in the industry. It’s great for artists who wish to create intricately textured characters or creatures. However, due to its complexity, it may be less ideal for beginners.
Factors to consider user-friendliness, features, and compatibility
User-friendliness:
How simple is the software to use? Is there a learning community and lessons available? What specific functionality does the software provide? Is it specifically designed for character design, animation, or both? Look for tools that will help you achieve your project objectives.
Compatibility:
Check that the software is compatible with your operating system and any other software you intend to use with it. Compatibility problems might be a huge impediment to your creative process.
Tip 2: Understanding the 3D Modeling Process
The basic steps involved in transforming a 2D image into a 3D character
Transforming a 2D image into a 3D character is a multi-step process that involves several key stages:
Image Preparation:
Begin by choosing a clear, high-quality 2D image. Check that the lighting, angle, and perspective match your vision for your 3D character.
Mesh Creation:
Creating a mesh is the first stage in the 3D modeling process. This entails creating a 3D structure that specifies your character’s shape. The mesh serves as the foundation for creating the character’s form.
Sculpting and molding:
After you’ve placed the mesh, you may start sculpting and molding the character. The mesh is manipulated in this stage to match the shapes and proportions of your 2D image.
Texture Mapping:
Apply textures to the surface of the character to add realistic or stylized characteristics. This includes skin textures, clothing, and other surface features.
Rigging:
Rigging is required to make your character pose and move. This procedure entails adding a skeleton to your character, complete with joints and bones.
Animation:
If your project requires animation, you may now animate your character by manipulating the rig and keyframing different postures and movements.
The role of mesh, texture and other technical aspects
The mesh serves as the foundation for every 3D character. It is made up of vertices, edges, and faces that define the shape of the character in 3D space. You can shape the character to your liking by adjusting the vertices and edges.
Textures, on the other hand, are 2D graphics that are applied to the surface of the character. They bring your character to life by adding visual features like skin patterns, outfit designs, and more. Textures aid in making your character appear more natural and appealing.
UV mapping (which dictates how textures are applied to the mesh), normal mapping (to provide fine details to surfaces), and displacement mapping (for more intricate geometric details) all play a role. These technological aspects are essential in developing a visually pleasing 3D character.
Tip 3: Refining and Customizing Your 3D Character
The creative possibilities in customizing your 3D character
Customization is where your artistic vision truly shines. It’s an opportunity to imbue your 3D character with uniqueness and personality.
Face and Body:
Change the shape of face features such as the eyes, nose, and mouth. Body proportions can be adjusted to match your character’s personality, which might range from heroic to humorous.
Clothing and Accessories:
Dress your character in outfits that are appropriate for their role or plot. To enhance their character, add accessories such as caps, jewelry, or tools.
Colors and Textures:
Use various colors and textures to describe your character’s skin, hair, and clothing. This gives them more depth and reality.
Expressions & Body Pose:
Express certain emotions or activities by personalizing your body poses and face expressions. This adds another layer of story to your character.
Importance of fine-tuning details like textures and proportions
Character customisation begins with fine-tuning details. It’s where you highlight the character’s uniqueness and improve their visual attractiveness. Textures and proportions can be changed to make a major difference:
Textures:
The right textures can give your character’s skin a tactile quality, making it appear soft, rough, or anywhere in between. Textures also offer depth and authenticity to clothes, giving it the appearance of being made of fabric with its own texture and pattern.
Proportions:
Proportions are important in character design. Adjusting proportions can assist portray your character’s individuality and personality, whether you want a character with exaggerated features or a more realistic appearance.
Tools and techniques for artistic expression
Artistic expression is at the core of character customization. Different 3D character creators offer various tools and techniques to unleash your creative potential:
Sculpting Tools:
Many 3D software includes sculpting tools that allow you to shape and mold your character with precision.
Painting and Texturing Tools:
These tools let you paint directly onto the character’s surface, adding intricate details and colors.
Layering and Blending:
Layering and blending techniques enable you to combine different textures, colors, and details seamlessly.
3D Brushes:
These specialized brushes are designed for adding fine details, like wrinkles or scales, to your character.
Tip 4: Adding Realism and Personality to your 3D characters
Importance of giving your 3D character depth and character
Creating a 3D character isn’t just about aesthetics; it’s about bringing your character to life. Here’s why it’s crucial:
Depth:
Giving your character depth means offering them with a past, motivations, and a distinct personality. Consider your character’s background, what motivates them, and what obstacles they’ve conquered. These details will influence how your character acts and interacts with their surroundings.
Character:
The personality of your character should be evident in their actions, expressions, and reactions. Consider their personality, peculiarities, and interactions with other characters in your project. Characters who are well-defined become memorable and compelling.
Give your character realistic characteristics and personality for transforming 2D photo to 3D model.
Facial Expressions:
The eyes are frequently referred to as the “windows to the soul.” Pay great attention to your character’s eyes, as they portray a variety of emotions. Create lifelike expressions with facial rigging and animation, from joy to despair and all in between.
Body Language:
Just as in real life, body language is important in character portrayal. Experiment with stances and motions to reflect the personality of your character. Subtle gestures can convey a lot.
Voice and Dialogue:
If your project contains voice acting, the character’s voice can improve their personality greatly. Choose the ideal voice actor and work on the dialogue to make it unique and genuine to the character’s essence.
Backstory and Motivations:
Learn about your character’s background, desires, and concerns. These particulars will have an impact on their behaviors and emotions in your project, making them more relatable.
Consistency:
Ensure that your character’s personality remains consistent throughout your undertaking. Inconsistencies might undermine your character’s immersion and authenticity.
Tip 5: Rigging and Animation to convert photo to 3D model
Rigging in 3D character creation
Rigging is a crucial phase in the production of 3D characters, and its importance cannot be emphasized. Here’s why rigging is so important:
Articulation:
Rigging gives your character an articulated skeleton, allowing for more flexible movement and posing. Your character would be stiff and lifeless without rigging.
Dynamic Storytelling:
In animation or interactive media, rigging allows your character to perform actions and portray emotions, which is crucial for dynamic storytelling.
Character Consistency:
Rigging guarantees that your character’s proportions and movements remain consistent throughout your project, which is critical for visual cohesion.
Discuss the basics of adding bones and joints to your character
Adding bones and joints to your character is at the heart of rigging. This process involves the following key steps:
Skeleton Design:
First, you’ll design a skeletal framework that corresponds to your character’s anatomy. This includes strategically positioning bones and joints, such as the spine, limbs, and facial features.
Binding:
After you’ve created the skeleton, bind it to the character’s mesh. This phase ensures that the mesh deforms correctly as the bones move, enabling realistic movement.
Optimization for Different Platforms from photo to 3D model
Importance of optimizing your 3D character for various platforms
Optimizing your 3D character for different platforms is essential to ensure your project runs smoothly and delivers the best possible experience to your audience. Here’s why platform optimization matters:
Performance:
Different platforms have varying levels of performance capabilities. Optimization ensures that your character runs efficiently on each platform, preventing lag or crashes.
User Experience:
A well-optimized character contributes to a positive user experience. Smooth performance, quick loading times, and compatibility enhance engagement.
Cross-Platform Accessibility:
If your project spans multiple platforms, optimization allows you to reach a wider audience while maintaining a consistent level of quality.
Explain the considerations for mobile, web, and gaming applications of transforming 2D photo to 3D model
Optimizing for different platforms involves considering the unique requirements and constraints of each:
Mobile Applications:
Mobile devices often have limited processing power and memory. Consider reducing the character’s polygon count, texture resolution, and effects to ensure smooth performance.
Web Applications:
Web-based projects should be mindful of download size. Compress textures and use efficient rendering techniques. WebGL is a common platform for web-based 3D content.
Gaming Applications:
Games vary in performance requirements, so consider the target platform and tailor your character’s optimization accordingly. Use level-of-detail (LOD) models for distant views and balance quality with performance.
Tips for reducing the file size of transforming 2D photo to 3D model without compromising quality
Reducing file size while maintaining quality is a delicate balancing act. Here are some tips to help you achieve this:
Texture Compression:
Use texture compression formats like JPEG and PNG to reduce texture file sizes while preserving visual quality.
Mesh Simplification:
Employ mesh simplification techniques to reduce polygon count without significantly affecting the character’s appearance.
LOD Models:
Implement level-of-detail (LOD) models to use lower-poly versions of your character for distant views, switching to higher-poly models as the camera gets closer.
Texture Atlasing:
Combine multiple textures into a single texture atlas to reduce the number of texture files, which can be more efficient for performance.
Remove Redundant Data:
Remove unnecessary data and assets from your character file, such as hidden or duplicate geometry.
Conclusion
The process of turning 2D images into 3D models is a creative endeavor filled with boundless possibilities. It’s a journey that enables artists to breathe life into their characters, crafting unique personalities and engaging storytelling. The conversion process can be challenging, but with dedication and practice, the results can be truly astonishing. Embrace the potential of 3D character creation from photos where imagination knows no bounds, and where your unique characters can become the heroes of your stories. Dive into the world of 3D character creator tools, experiment with techniques, and explore your creativity. If you’re looking to create 3D characters from photos into 3D models, 3D character creator tools like 3Daily are the perfect option. 3Daily offer a range of features and functionalities that make this transformation process accessible and exciting.